Wednesday, August 31

August Wrap-Up

You might remember when I first started talking about the Pinterest Challenge in this post and how I was a little too late to get in on the party this time around. However, throughout the month of August I really gave it the old college try when it came to finishing some projects around here. I'd just like to have a little wrap-up party for August so you guys can see all the projects in one place! (click pictures for original post)
the mailbox
the old tray
more shelves in the cupboards
homemade laundry detergent
free raised garden beds
a favorite college t-shirt re-fashion
I would have to say that the raised garden beds are my favorite project from August! I do have a few more things in the works but I'll wait until September to share those. As I showed you yesterday, I'm really excited to decorate for fall so I'm sure that some of my up and coming projects will be autumn related. My goal for September is to get some better "in-progress" pictures for you. I'm super bad about just starting a project and then realizing half way through that I didn't take a before picture! I'll get better...promise! I hope you all enjoyed the projects that I shared throughout the month. Thanks for stopping by and hope to see you all here again in  September!

Tuesday, August 30

Inspired for Fall

I know that it's just a little to early to be thinking about cool weather, crisp mornings and changing leaves (especially when I have one more tubing trip planned for this weekend) but I just love seeing the fall inspiration out there right now!!! I can't wait for after Labor Day when I can start pulling out a little fall decoration. Here's a random sprinkling of what's getting me excited for the season ahead...


Are you excited for the fall season?! Have you already started your autumn crafts or started decorating yet? I hope to have a few more completed projects to share with you soon! Thanks for visiting!

Monday, August 29

Seattle Farmers Market

Just popping in real quick to share a new honeymoon page with you! I had a pretty busy weekend and I'm ready to relax at home tonight. My sister-in-law, mother-in-law and I all went shopping on Saturday and then to a bridal shower on Sunday so we didn't get back until last night. Anyways, here's a quick two page layout about our Sunday morning that we spent at the Seattle Farmers Market before our cruise left. I loved the market and I love the pictures that we got! (click on the image for credits)


Friday, August 26

Blessings

Happy Friday!!! I'm so excited that it's the weekend. I have a lot planned. Chad's mom, his sister and I are going shopping all day tomorrow and then we have a bridal shower for his cousin on Sunday. I'm on a mission to find a cute/sexy/grown up dress to wear to some weddings this fall. It should be fun!
Speaking of weddings and what not, Iara of Baers Garten Designs just released a new kit today called Blessings that would be perfect for a wedding album (or a baby album if you adjusted the colors to some pinks or blues)!!! It's all neutrals, blacks and whites and it is gorgeous! It's also 63% off through the end of August, so go grab this beautiful kit while you can!
Here's my page using the Blessings kit. I loved the black paper with the hint of floral pattern and I've always wanted to use this saying on a page so that little moon really inspired this page. If you buy and use this kit come back here and share your page! Have a great weekend!

Wednesday, August 24

digital ad{scrap} tations

Feeling a little ho-hum about your scrapping? Need some inspiration or a challenge to push you to get a few more pages done this month? Well then head over to Arielle's website!
Every week she posts a new challenge (some include easy to use templates!) and you have the whole month to complete and link your layout! I've done 3 of her August challenges and you still have until next Wednesday if you'd like to play along! Here are my completed layouts! Click the image for credits. Thanks for stopping by!

Tuesday, August 23

T-shirt Re-fasion

Do you have any favorite old t-shirt? You know, the ones that are just really worn out or have a hole in the arm pit? Yep, that was my t-shirt. My very first UNK t-shirt and it was so comfy and it got me through 4 years of college but it just started to come apart at the arms. Well, this simple little pin saved my shirt...

Tonight, I got out my old t-shirt which I had already cut the arms off of. I cut off the neck and folded it down and hemmed it. Then I cut off the bottom hem and cut off another piece about 1/2" and threaded that piece through the top of the shirt and tied a bow. And...ta-da!
A super cute and comfy tank and I didn't have to throw out my favorite tee. Go UNK!

2Peas Tuesday

Hi! It's time for some more pages for 2Peas Tuesday! With school starting for so many people right now, school themed kits are pretty popular. I'm not in school anymore and I don't have any kiddos to take cute 1st day of school pictures of but I do have lots of pictures from when I used to dance in high school! 
Emily of Polka Dot Pixels is one digi designer who came out with a super cute back to school themed kit this week at 2Peas. Her kit called School Days was really fun to work with and I especially love the letter stencils! These pages highlight some dance pictures and tell the story of how I got to be on the dance team for Plainview High School! 

Monday, August 22

Blueprint #9

Hey guys! Anyone need a little challenge to get their digi juices flowing?! Over at Design House Digital they have a new Blueprint Challenge every month where they give you a template and you just have to create a page! It's easy and it gets me creating! Here's this month's template and the page I made with it! Enjoy!

Not Just Pinning, But Doing!!!

I finished up a project that has been on my to-do list for a few months now and I couldn't be happier! I haven't had any strawberries in my garden for the 2 years that we've lived here now and I really wanted some. A lady that Chad works with was thinning out her patch this fall so I told her that I would take some. Our garden is still a little rough though and I didn't want to take up any more of the lawn or have to till up the tall grasses under the trees. Enter Pinterest...
Source: ana-white.com via Janae on Pinterest


Source: sunset.com via Christy on Pinterest

I really don't like being down on my hands and knees in the garden so I thought that these raised beds would be a great idea for the strawberries. Since Chad has been working on re-modeling our old barn, there has been a surplus of old lumber laying around. Some of it is not in the best shape and I usually can't find the size of board that I need but I went looking in the loft for something that would work for these beds. I found a few 4x4 posts and a whole pile of old floor boards that would work great! I dug out a box of screws and the chop saw and went to work.
My beds measure 6 feet x 3 feet. One bed is 3 boards high and the other is 2 boards high. I just screwed the old floor boards into the 4x4 as show above in the picture. Then we set them in place on top of the tall grasses that I didn't want to till up and Chad brought over a few tractor buckets full of dirt. After he dumped it, we leveled them and scooped the dirt in and around until they were all set and ready for strawberries. After planting, this is what my new raised garden beds look like!!! (the strawberries will look a little sad until their root systems grow down into the new soil)

I also go the border of the garden done and decided to extend it out towards our lonely pear tree. You can see the border a little bit in these pictures, it's old fence posts! So my new raised beds and my garden border are done and they were free (so were the strawberries)! Did you get any big projects done over the weekend? I'd love to see them!
Thanks for stopping by everyone!


Friday, August 19

~Friday~

Yes! It's Friday! But that's also the name of the new kit out from Iara of Baers Garten Designs. Today she released her new kit over at The Lilypad and it is super cute! Lots of fun colors and whimsical elements make this kit perfect for just about any layout. It's on sale for 20% off today too so go over quick and get it! Here's the preview for the kit and the page I made of Mya helping with laundry.
I hope everyone has a great weekend!!!

~Laundry Today or Naked Tomorrow~

This was literally the case last week in our house! All the clothes were piled in the laundry room and we had nothing to wear! I had pinned (you know, on Pinterest) a recipe for homemade laundry detergent and I was determined to try this because $20 for a jug of Tide is ridiculous!!! Seriously! Lucky (haha) for me, it was definitely time to do laundry and the big orange jug was completely empty so I thought it was probably time that I tried this!

Ingredients:
  • Borax
  • Washing Soda
  • Bar Soap
  • Water
  • Old pot, spoon, cheese grater, funnel and two empty gallon jugs (I reused the Tide jug)
It probably cost me close to $20 to get all the supplies the first time around because I had to buy a seperate pot, spoon, funnel and cheese grater specifically for this. I don't think we would want to be eating soap if I had made it in our good pots. If I were only buying the supplies the box of borax and washing soda cost $9 and each bar of soap coat $1. Each of those boxes can do quite a few batches of this laundry detergent so that $9 is going to get spread out over however many batches I can get out of it. Each batch also makes 2 gallons, so even if I was going to include the $9 cost each time, a gallon of this would only cost $5 instead of $20. I'm guessing my actual cost is way less than $5 though!
I washed all our laundry this last weekend and our bedding and everything turned out clean and fresh! I couldn't even tell the difference between detergents. I still use softener sheets in the dryer and used some bleach with our whites but all in all, I would call this a success! Oh and I also just read the other day that you can add essential oils after it cools if you want to add a scent to your detergent. If you try this or any other homemade cleaning solutions, good luck!

Thursday, August 18

The Road to Success

Karen Funk has a new kit out at Design House Digital today called "The Road to Success" and you can grab it for 30% off here.
This kit would be so cute for all those back to school, first day or even yearly school pages! I don't have any kids in school and I'm not in school anymore either but man, I wish I was! I loved buying school supplies and new clothes so I decided to use the kit to document my love of back to school shopping.
Thanks for stopping by! Hope you all have a great day! Scroll down to check out some of the projects I've been working on lately and stop by soon for more to come!

Desperate for Cabinet Space

Weddings = boxes all over your kitchen! Yes, it's true. There were boxes everywhere after we got married!!! Some people just hide those boxes in a spare bedroom and never think about them again for 10, 15 or 20 years. We had some seriously cool stuff in those boxes though, so I wanted to make sure it all got into my cupboards and used on a regular basis. This is where the boxes all over my kitchen comes in...
How am I going to get all this stuff into my already full cupboards. Well, I started with the obvious and got rid of the old stuff like plates and pots and pans that were being replaced with new. Then I decided that the cupboards needed shelves in them. Can you believe it? The bottom cupboards didn't have a single shelf in them and the stuff was just piled in there. Here's a few pictures of the mess that was my cupboards prior to this simple DIY fix.
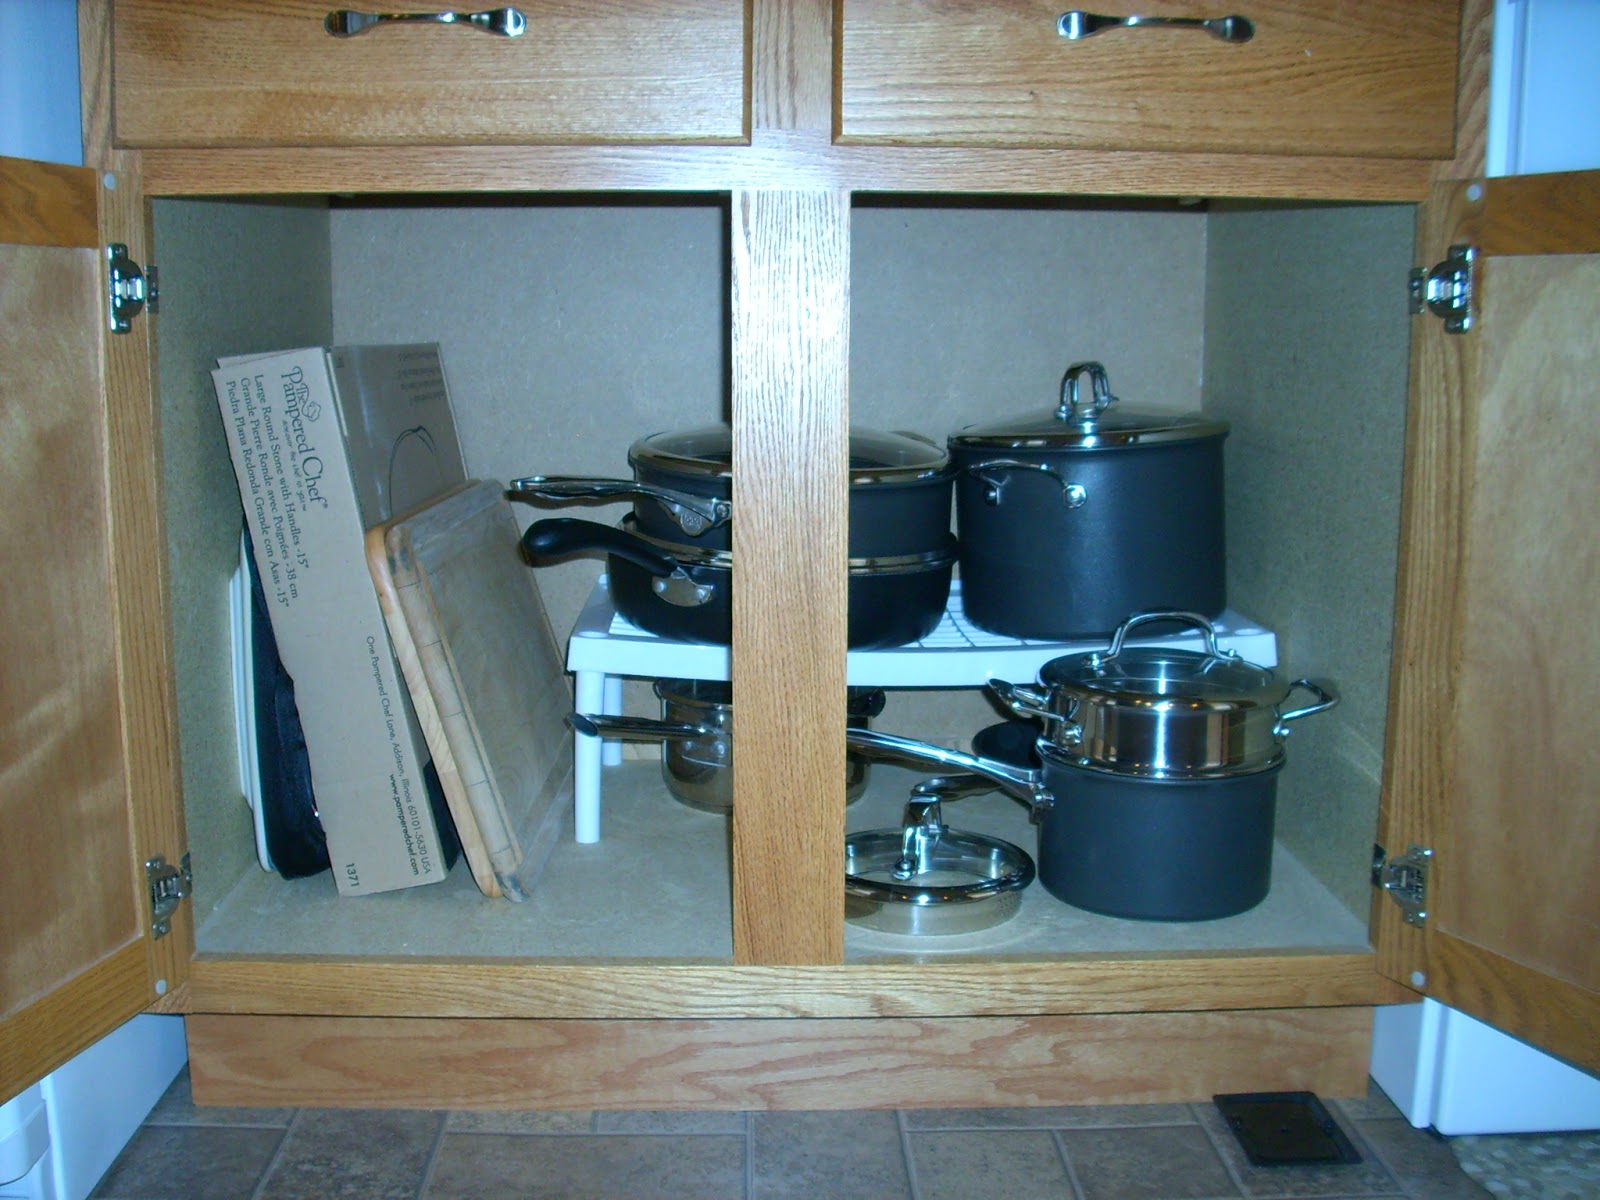
I bought a few pieces of MDF and used my hubby's table saw to cut them all down to fit in my cupboards. Then I used the drill to make little holes in the sides for some L-shaped pegs to go in that would hold up the shelf. Set the shelf on and ta-da! Shelves!
The change doesn't seem that drastic but I can assure you that it is definitely drastic when I can fit all of that stuff into the cupboards I already had without building a whole new kitchen! Yes, I know that a few of the shelves seem to droop a little in the middle but I have a simple solution that I'm still working on. If you want, you can just buy a little thicker piece of MDF and I'm sure it will be fine. Hey, this is how you learn things right?! Anyways, I spent $12 on MDF and $5 on all the little brackets, so the project total was under $20! I really wanted to share this with you because it was a simple fix for a problem than many of you may have in your owns kitchens. Just know that there is probably always something that you can do yourself for less money than you think!